> ## Documentation Index
> Fetch the complete documentation index at: https://docs.invup.me/llms.txt
> Use this file to discover all available pages before exploring further.
# Connect Stripe
> Let clients pay invoices online with cards and supported local payment methods.
Connecting Stripe is what turns an invoice from a document into something a client can pay in the moment they read it.
Stripe handles the funds, the payouts and the compliance. Invup hands off the payment and reconciles the result against the invoice, so a paid invoice updates itself without anyone recording anything by hand.
Integrations are restricted to owners and admins. Stripe is available on every plan, including Free.
 ## Connect an account
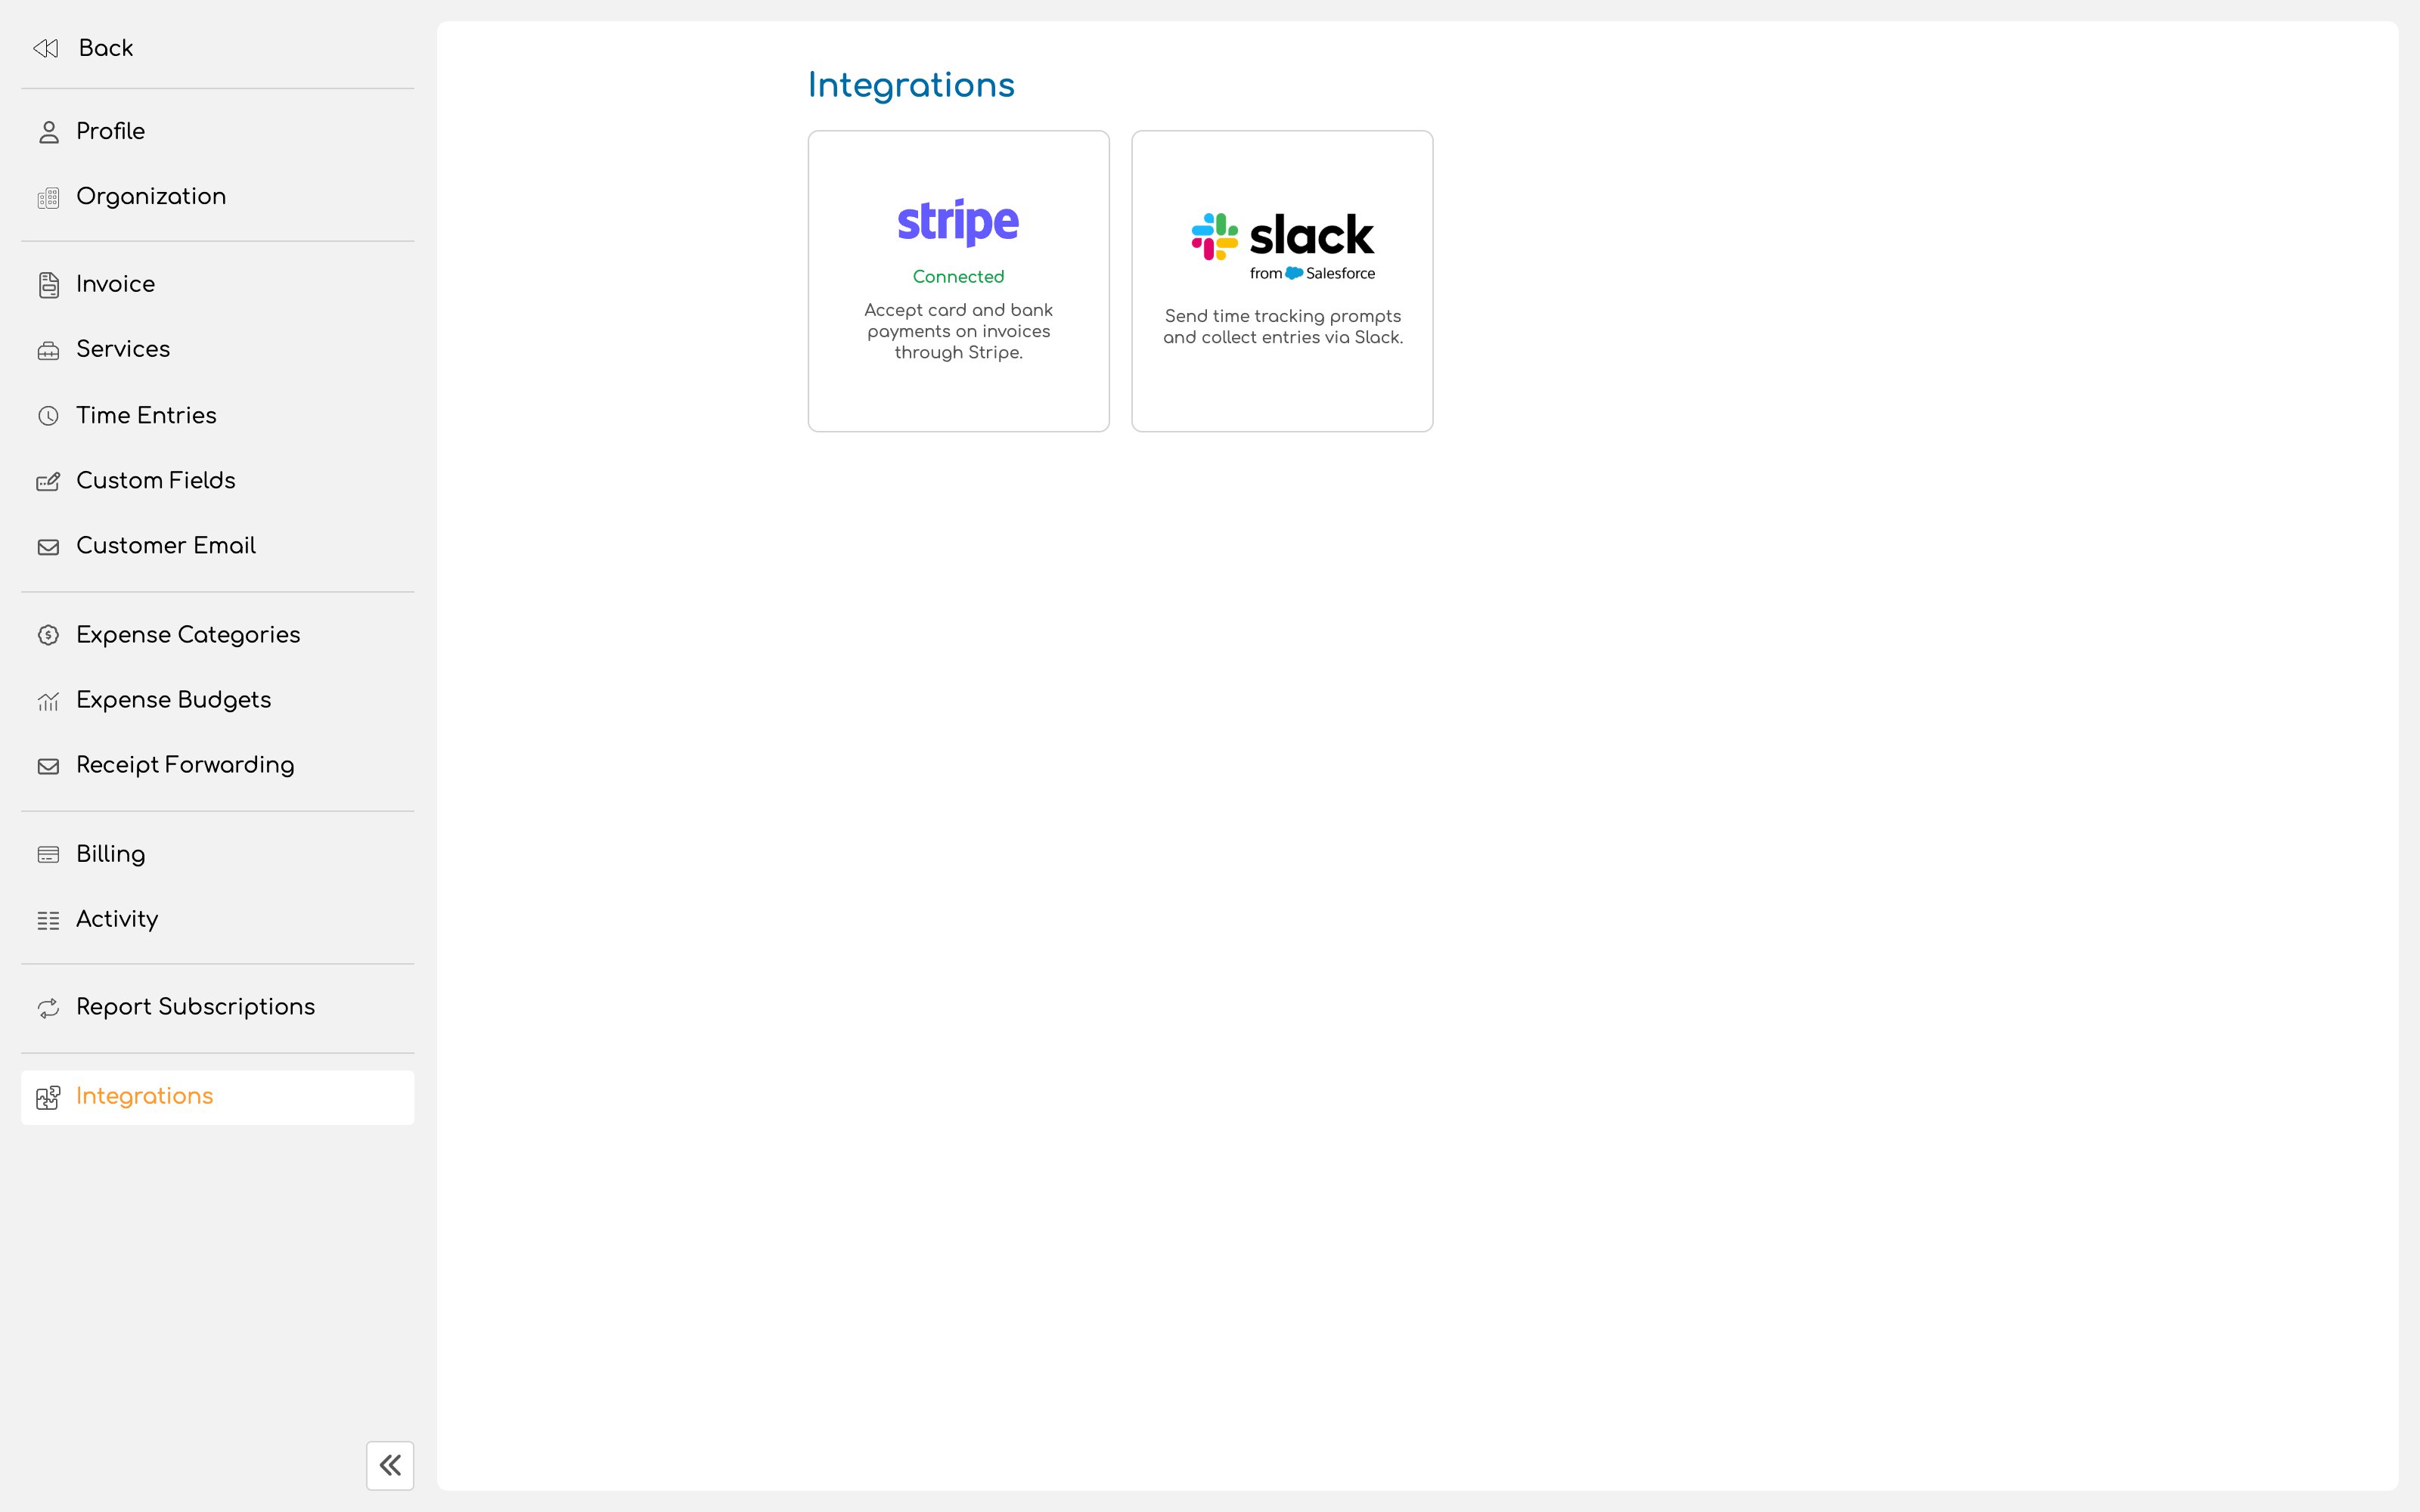
Begin the connection from the Stripe integration page. Invup hands you to Stripe to complete onboarding.
You can connect an existing Stripe account or create one during the process.
Stripe collects the business and banking details it needs to move money to you, which will include identity and bank account information. This is Stripe's requirement, not Invup's, and the details go to Stripe rather than being stored here.
After onboarding, the integration shows one of two states.
**Ready for payments** means the account is complete and clients can pay.
**Pending requirements** means Stripe still needs more information before the account can accept anything.
## Connect an account
Begin the connection from the Stripe integration page. Invup hands you to Stripe to complete onboarding.
You can connect an existing Stripe account or create one during the process.
Stripe collects the business and banking details it needs to move money to you, which will include identity and bank account information. This is Stripe's requirement, not Invup's, and the details go to Stripe rather than being stored here.
After onboarding, the integration shows one of two states.
**Ready for payments** means the account is complete and clients can pay.
**Pending requirements** means Stripe still needs more information before the account can accept anything.
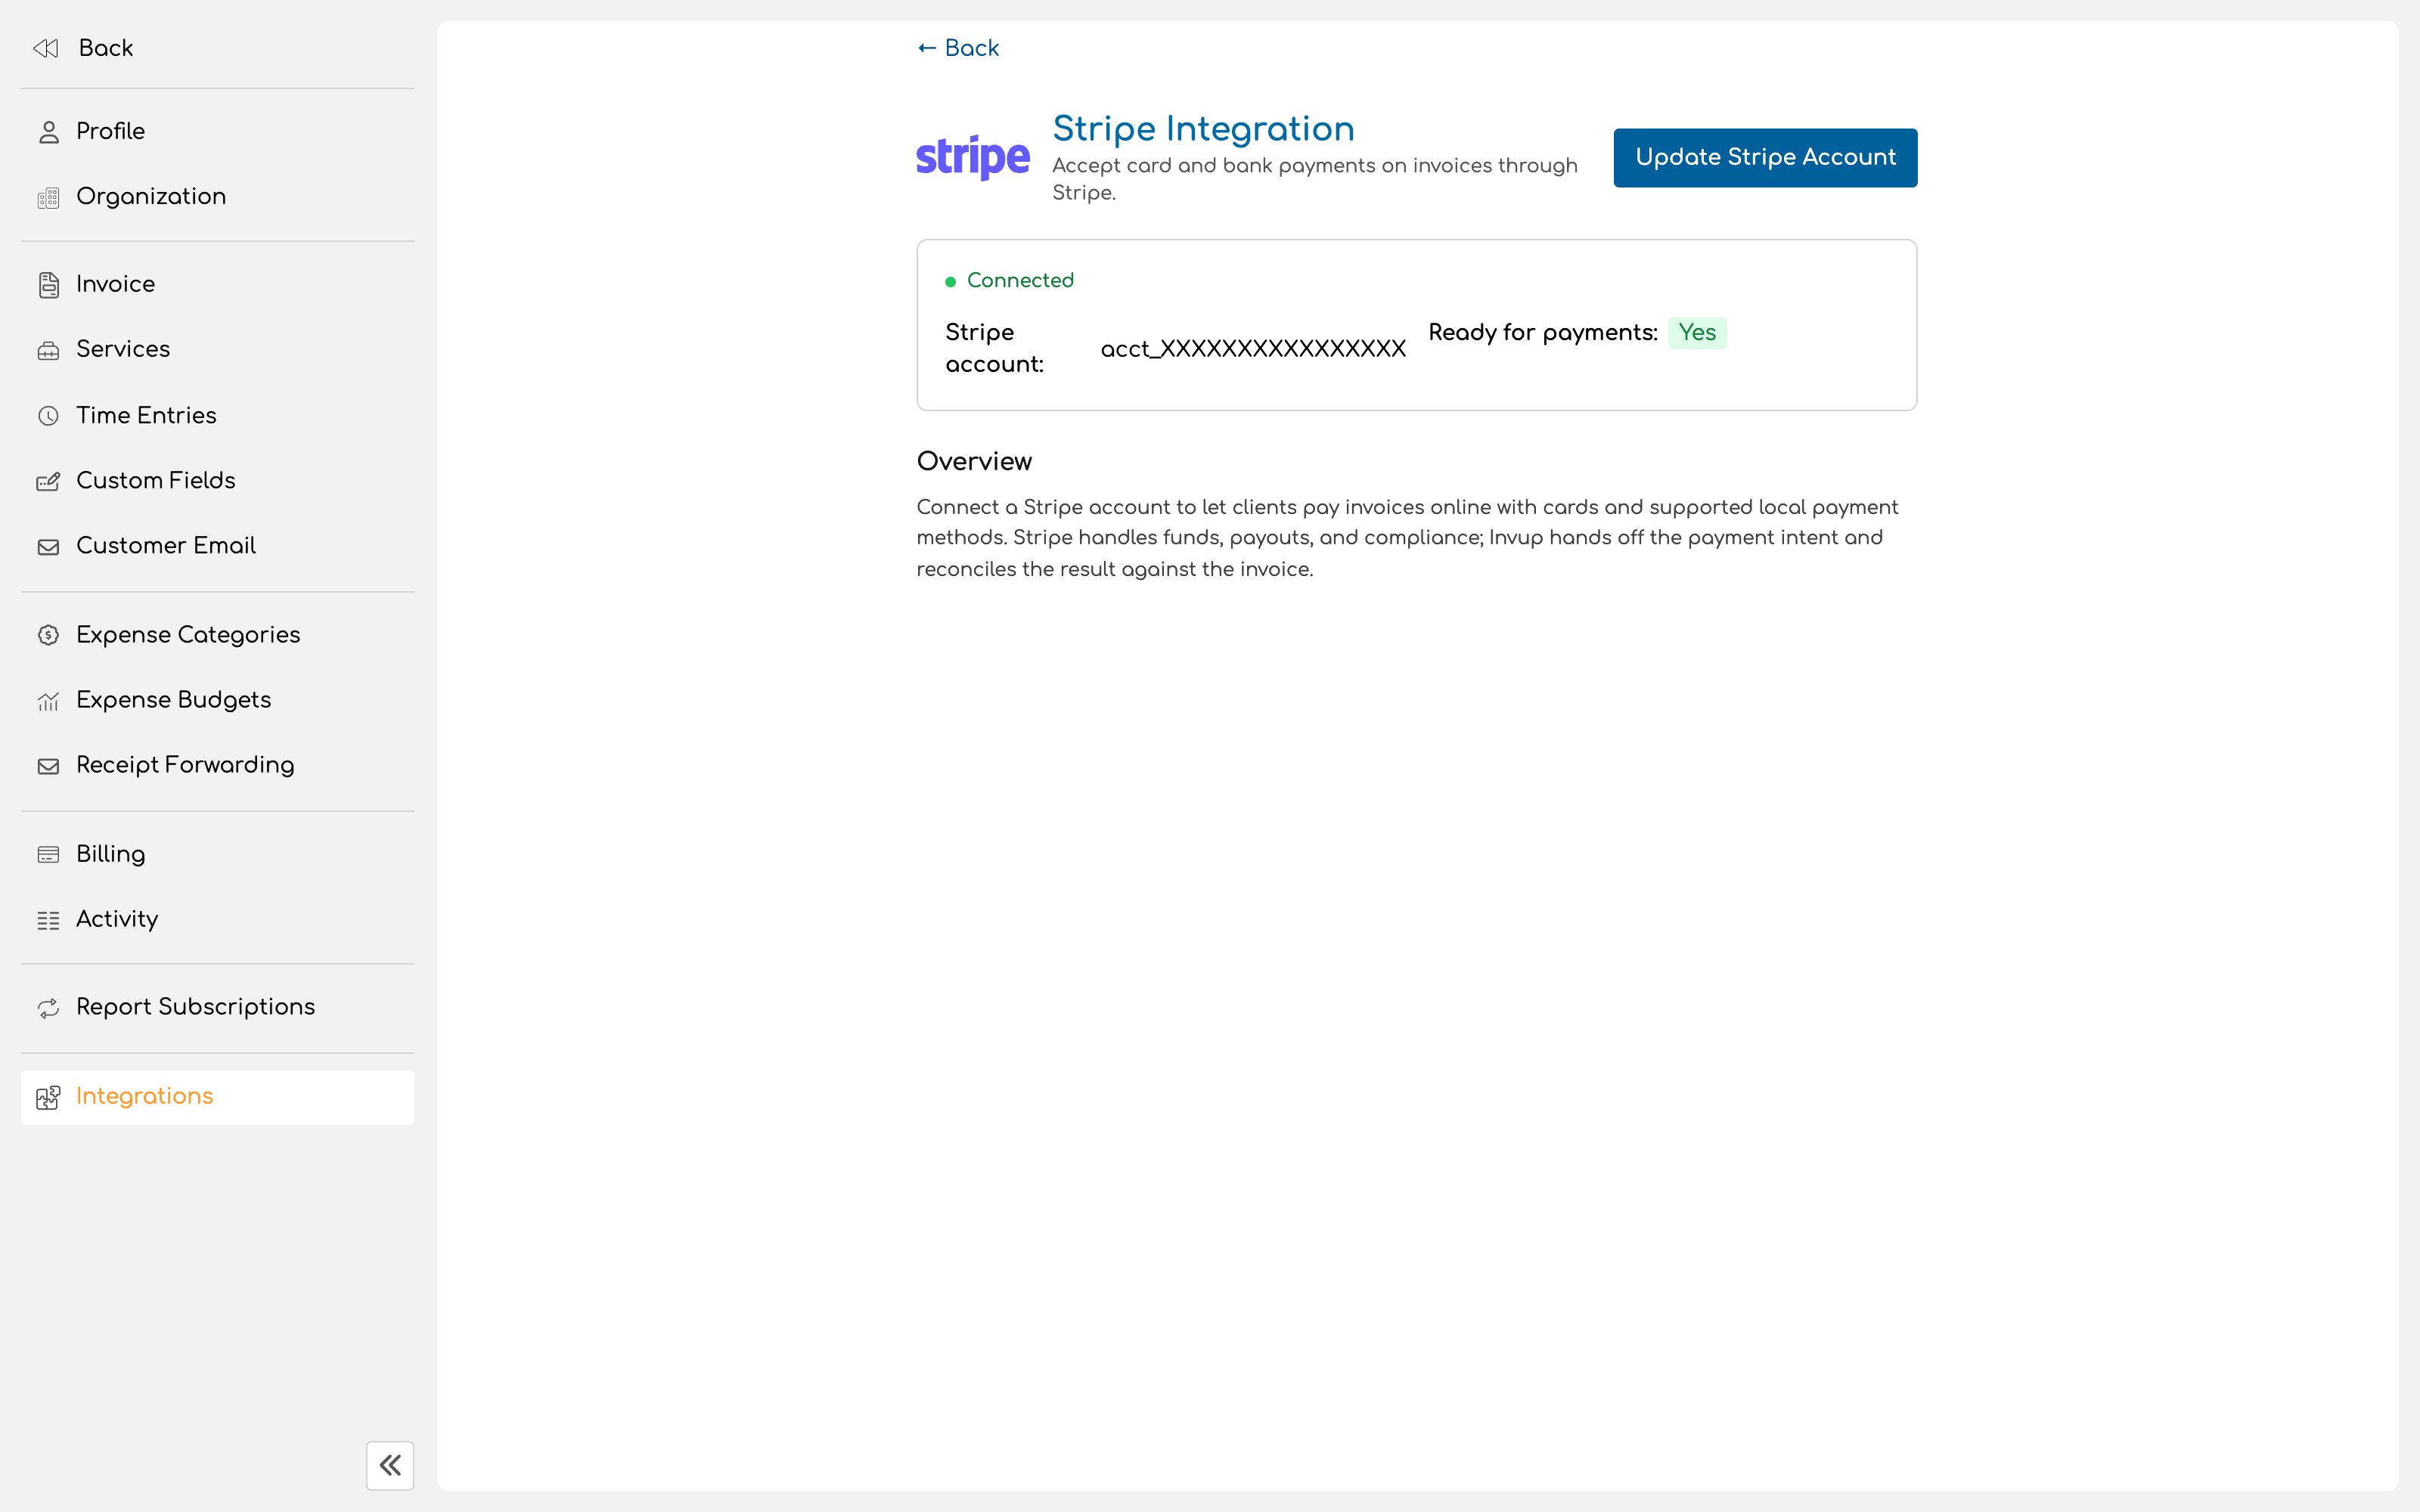 An account in **pending requirements** cannot take payment. Invoices still send, and your clients still see them, but the payment route will not work. Finish onboarding before you send anything you expect to be paid online.
## What your client sees
Your client opens the link in their invoice email, reads the invoice in the portal, and pays with a card or another supported payment method.
There is no account to create and nothing to install. That is the entire experience, and it is the main reason online payment collects faster than emailing a PDF and waiting for a transfer.
## What happens after payment
A payment made through the portal records itself against the invoice, and the balance updates without anyone doing anything.
Payments taken outside Invup, such as cheques and bank transfers, are recorded against the invoice by hand. The two arrive at the same place, but only one of them happens on its own.
## Fees
Stripe charges its own processing fees, on Stripe's terms.
By default your business absorbs them. If you would rather the client covered the card fee, that is the **pass on the credit card fee** setting described in [Invoice settings](/setup/invoice-settings), and it is regulated differently in different places, so check what applies to you first.
## Updating or changing the account
The connected account can be updated later from the same page, which is where you go when Stripe asks for renewed information or your banking details change.
## Next
Terms, branding, payment options and reminders.
Send your first invoice and get it paid.
An account in **pending requirements** cannot take payment. Invoices still send, and your clients still see them, but the payment route will not work. Finish onboarding before you send anything you expect to be paid online.
## What your client sees
Your client opens the link in their invoice email, reads the invoice in the portal, and pays with a card or another supported payment method.
There is no account to create and nothing to install. That is the entire experience, and it is the main reason online payment collects faster than emailing a PDF and waiting for a transfer.
## What happens after payment
A payment made through the portal records itself against the invoice, and the balance updates without anyone doing anything.
Payments taken outside Invup, such as cheques and bank transfers, are recorded against the invoice by hand. The two arrive at the same place, but only one of them happens on its own.
## Fees
Stripe charges its own processing fees, on Stripe's terms.
By default your business absorbs them. If you would rather the client covered the card fee, that is the **pass on the credit card fee** setting described in [Invoice settings](/setup/invoice-settings), and it is regulated differently in different places, so check what applies to you first.
## Updating or changing the account
The connected account can be updated later from the same page, which is where you go when Stripe asks for renewed information or your banking details change.
## Next
Terms, branding, payment options and reminders.
Send your first invoice and get it paid.