How to Create a Time Entry
This guide walks through creating a time entry in Invup — from opening the form to saving the entry. For a reference of every field and its constraints, see Time Entry Fields Reference.
Creating a Time Entry
A success notification confirms the entry was created.
Form Fields
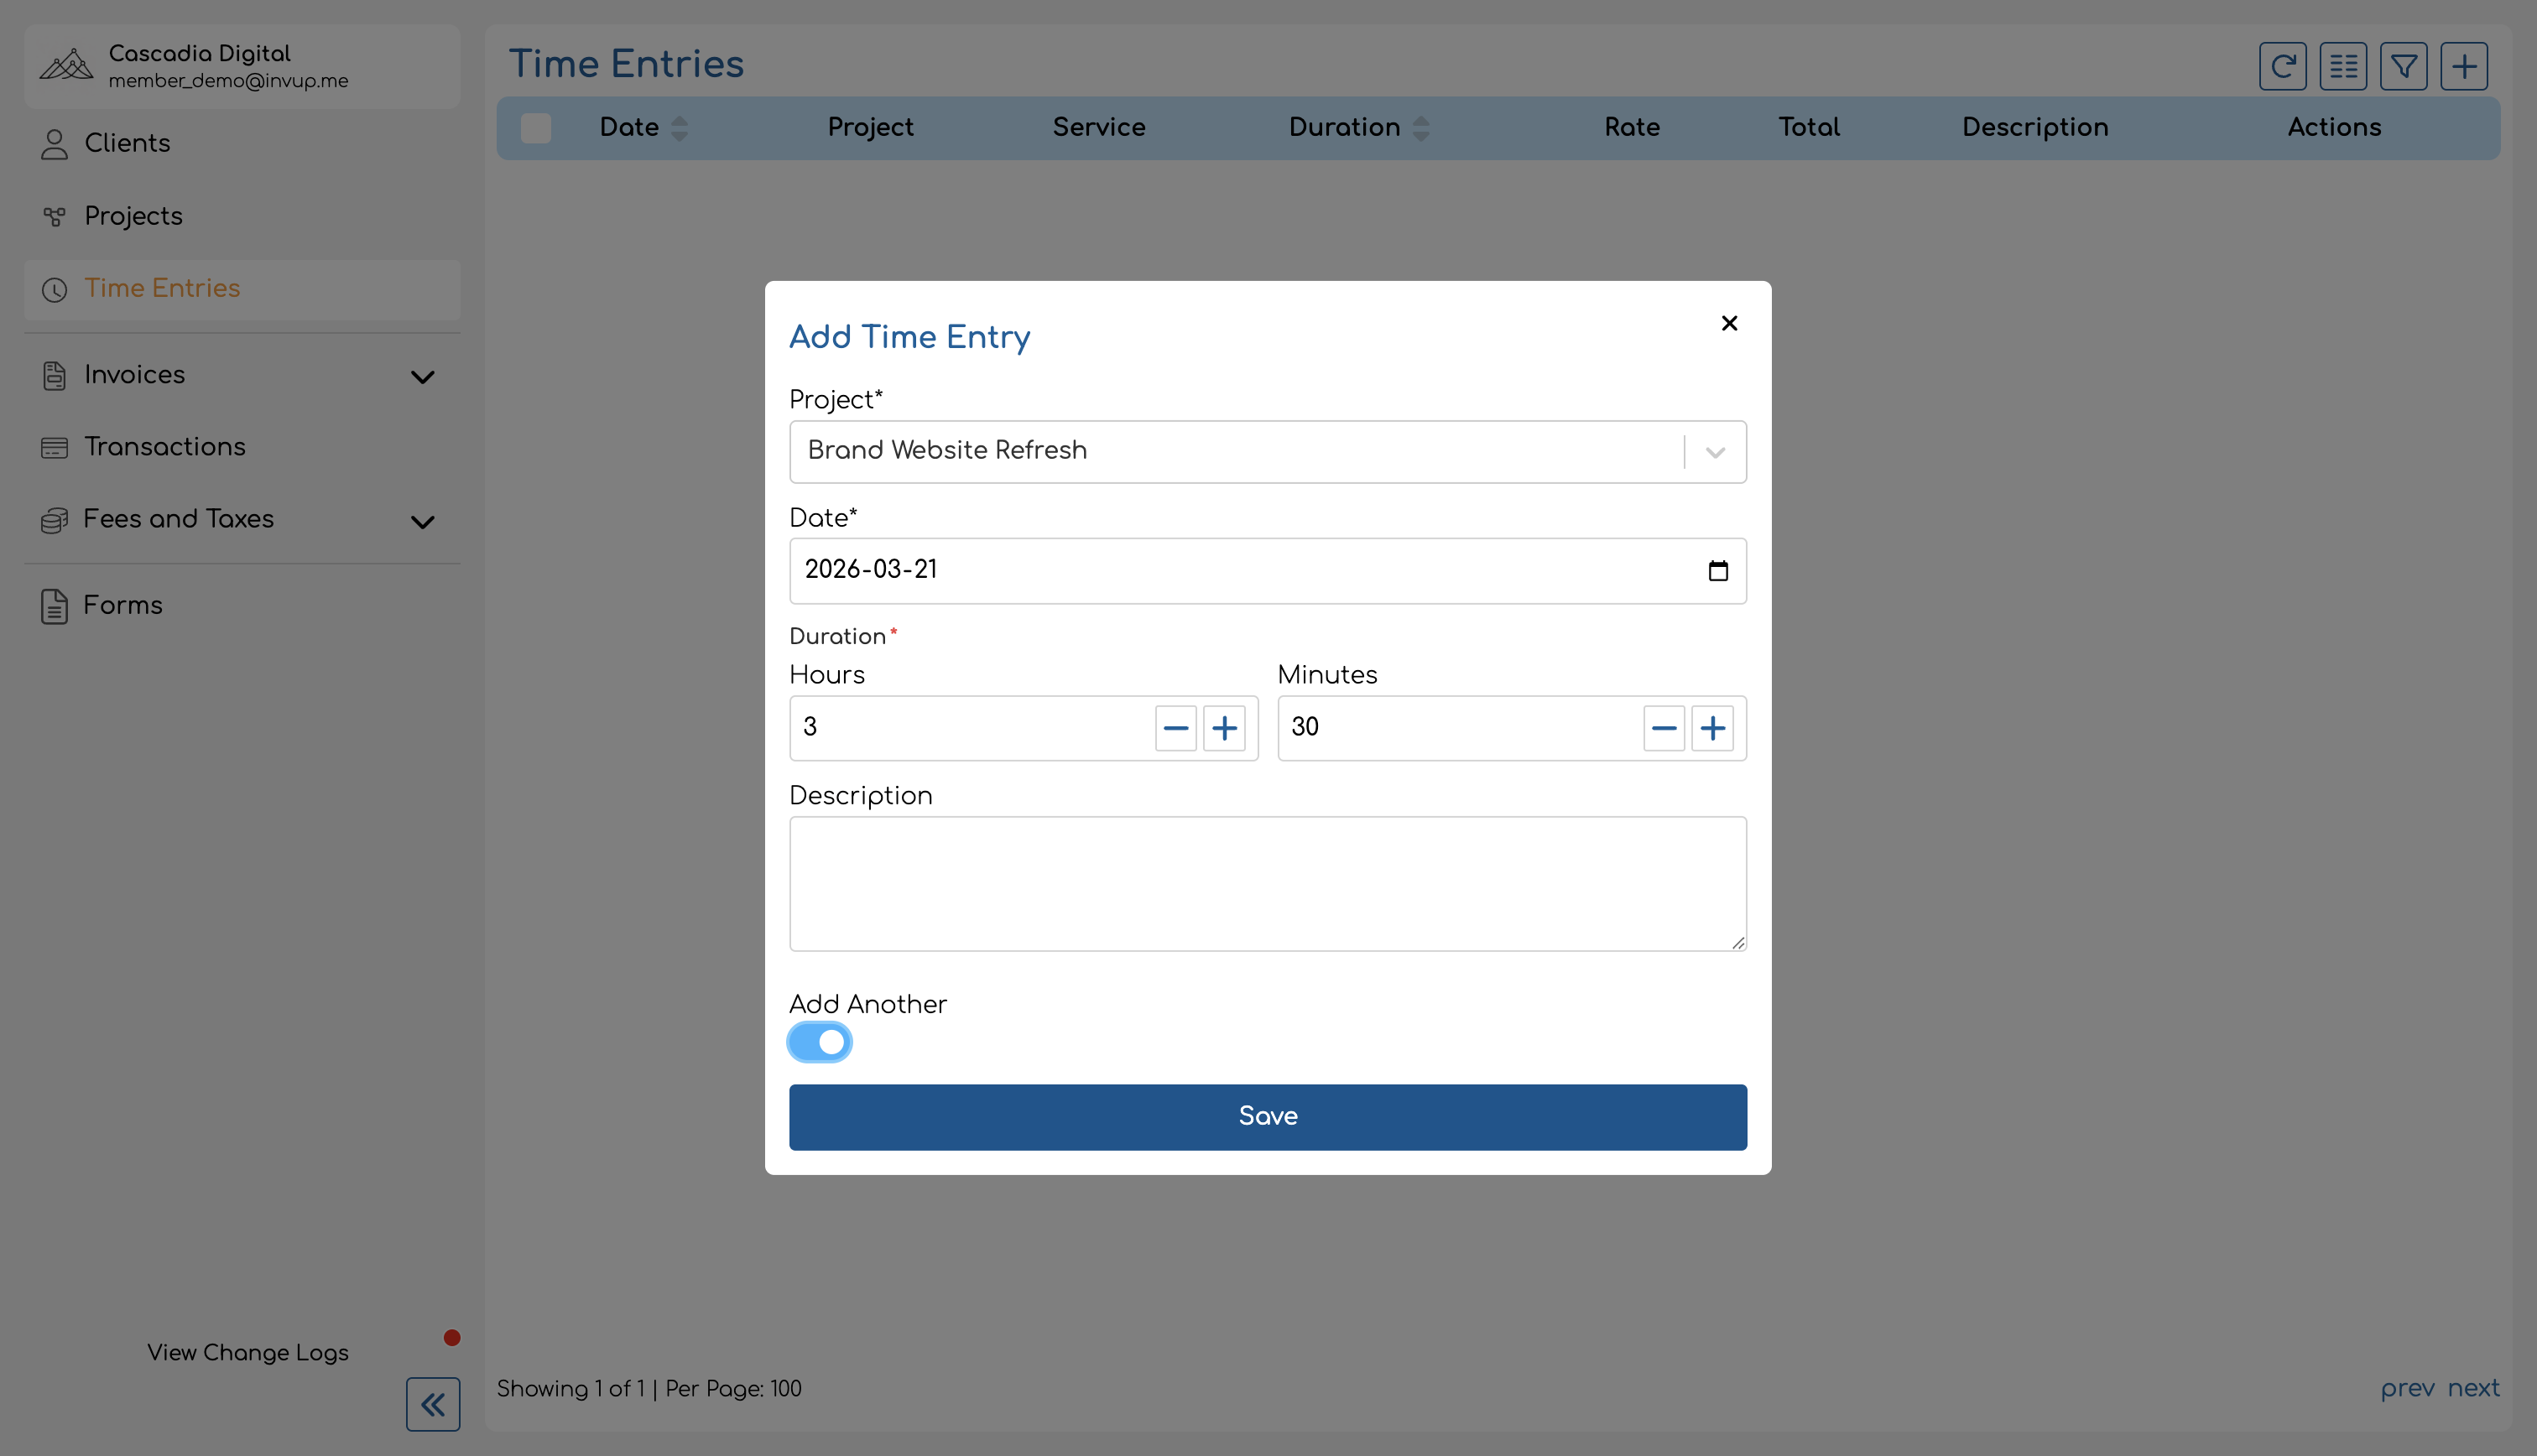
Project (required)
Select the project this work is tracked against. The dropdown lists all projects you're assigned to.
The project you choose affects which service options are available (if any) and which hourly rate is applied to the entry. Selecting the right project is important for accurate billing — for example, if a law firm tracks time for multiple clients, each client should have its own project.
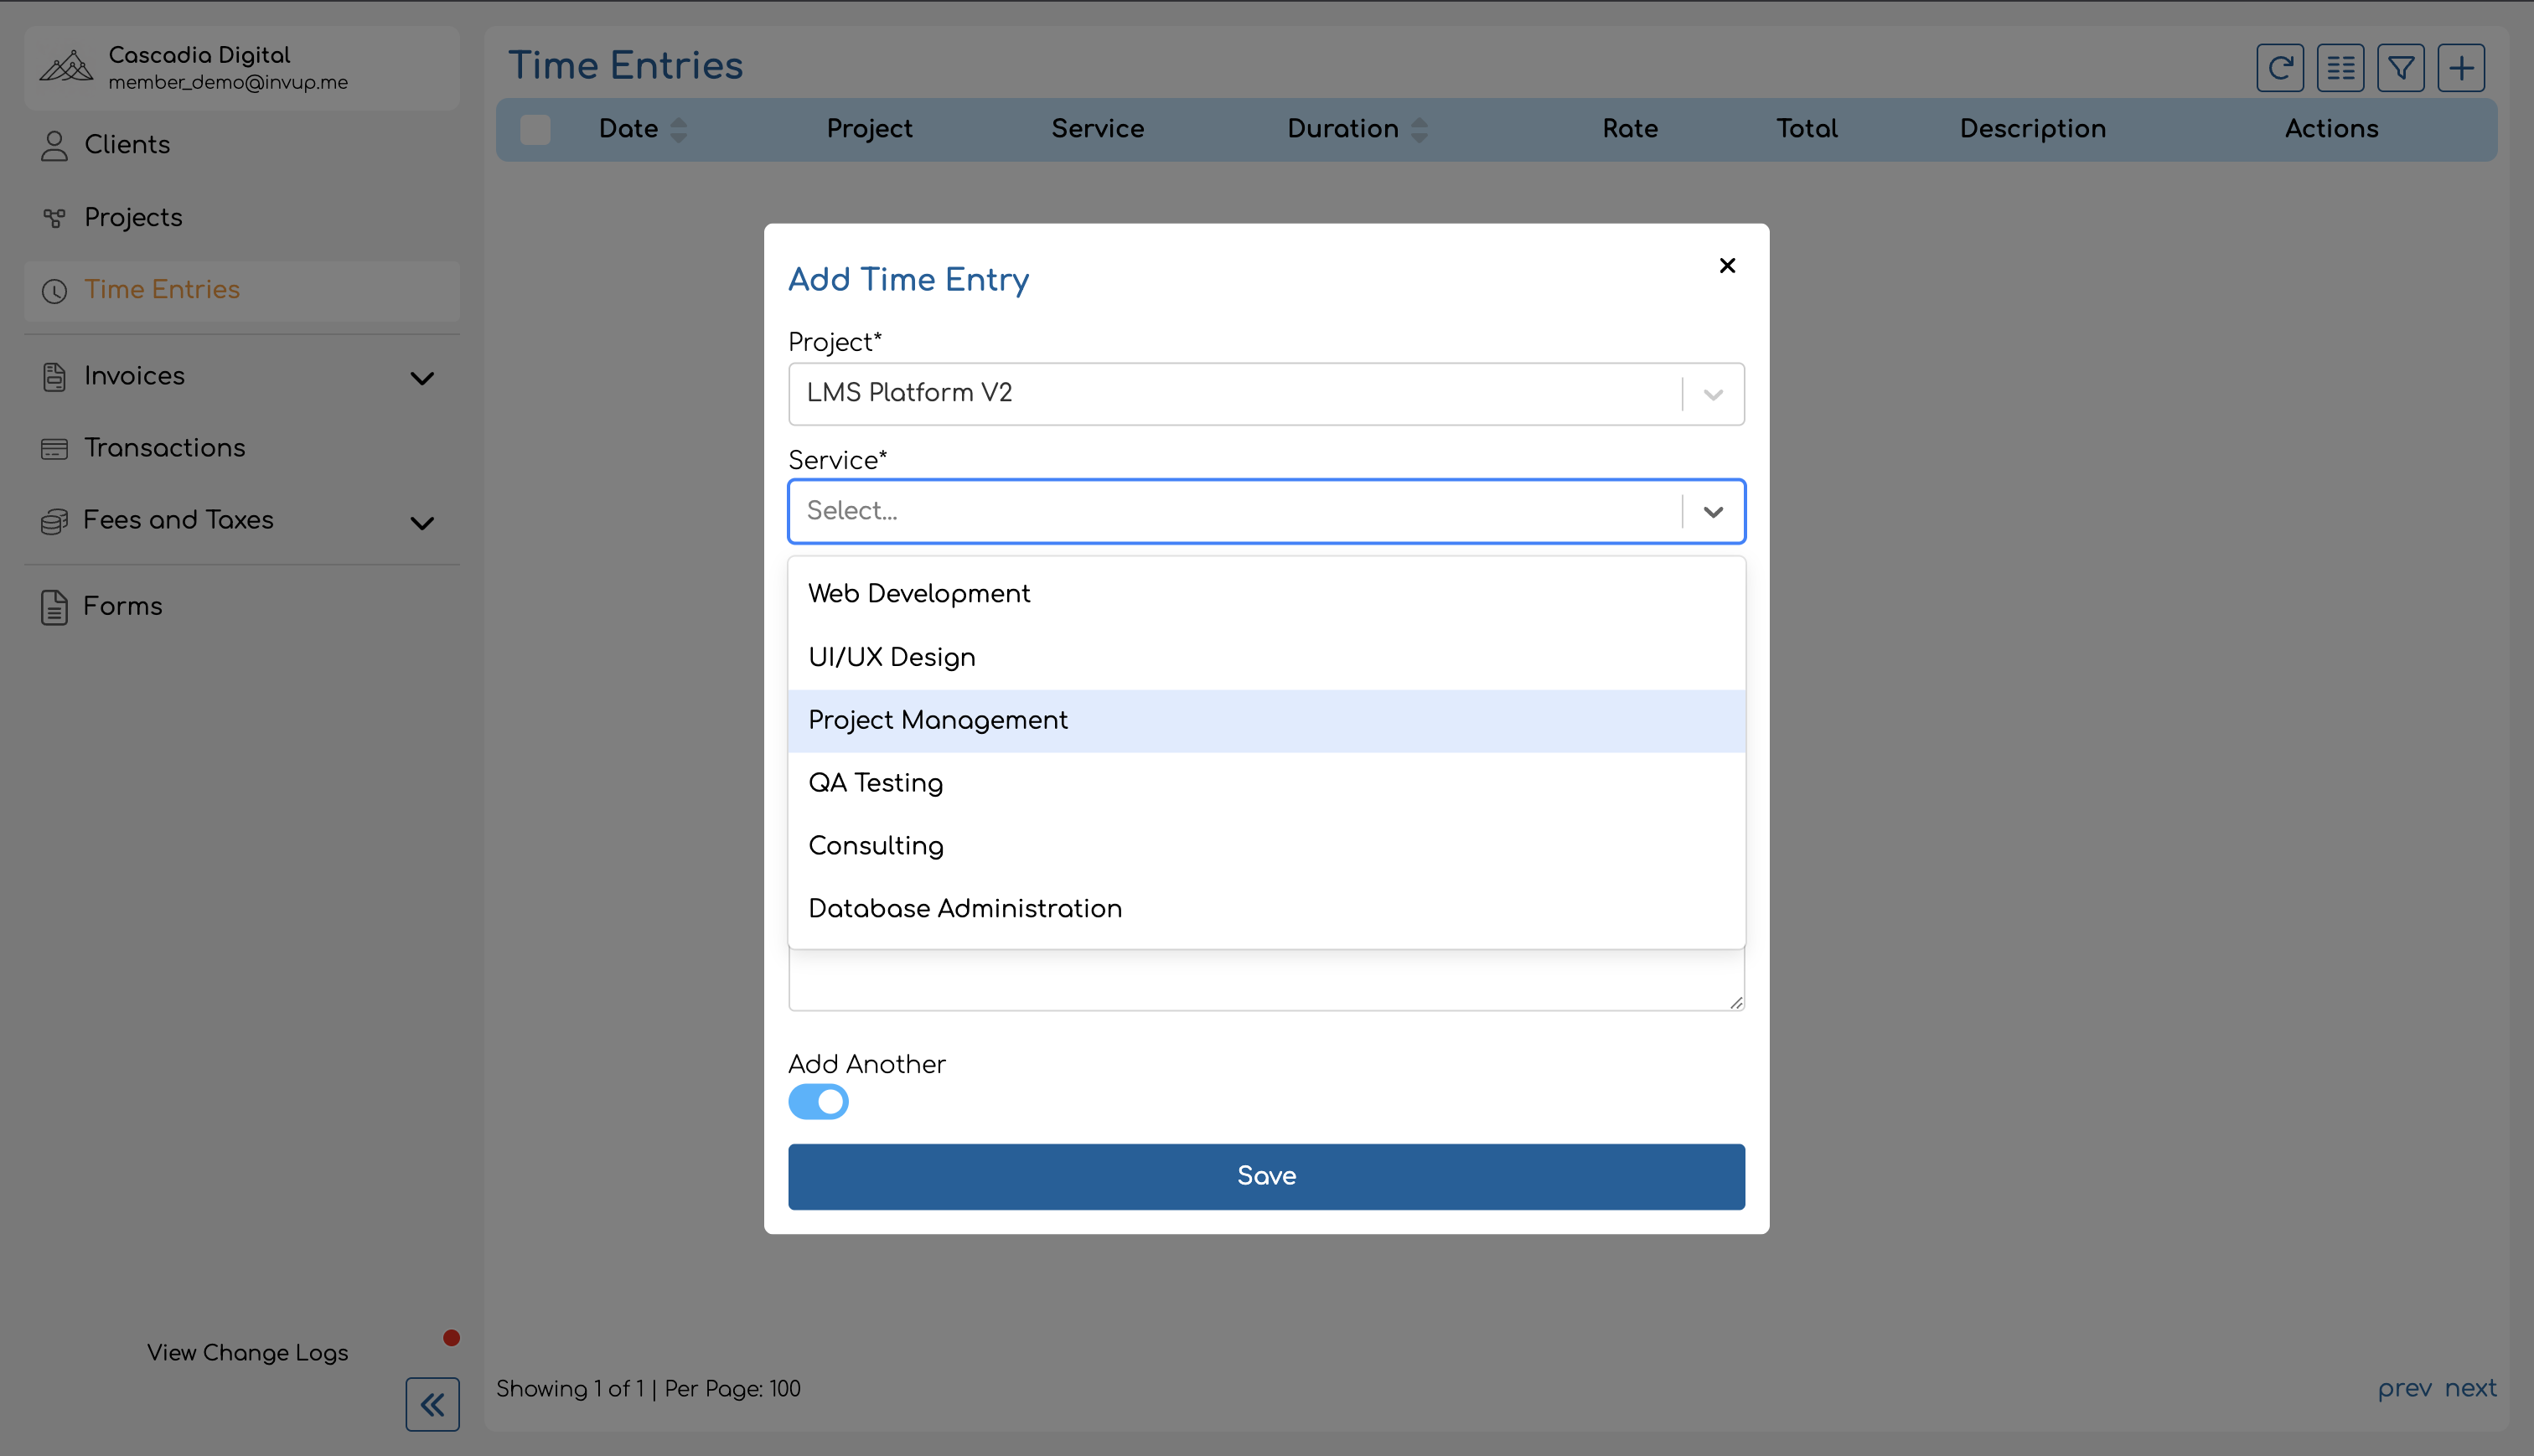
Service (conditional)
If the selected project has services enabled, a Service dropdown appears. You must select a service — it's required on service-based projects.
The service list is filtered to show only the services you're assigned to on the selected project. If you switch to a different project or team member, the service selection resets.
If the project does not use services, this field is hidden entirely.
Date (required)
The date the work was performed. Defaults to today's date. Pick a different date if you're logging time retroactively.
If the date falls on or before the project's lock date, the entry cannot be created by regular team members or contributors. Only admins and owners can create entries within a locked period.
Duration (required)
How long the work took. Duration is entered as two separate fields:
- Hours — 0 to 23
- Minutes — 0 to 59
The total duration must be at least 1 minute. For example, a 2.5-hour meeting would be entered as 2 hours and 30 minutes.
Description (optional)
Free-text notes about the work performed. Maximum 1,000 characters. Use this to capture what you worked on — for example, "Reviewed Q1 financial statements" or "Initial brand strategy workshop with client team".
If left blank, the entry displays "No description" in the time entries list.
Admin: Creating Entries for Other Team Members
Owners and admins see an additional Member field at the top of the form. This lets them log time on behalf of any team member in the organization — useful when a team member forgets to log their hours or when an admin is cleaning up records.
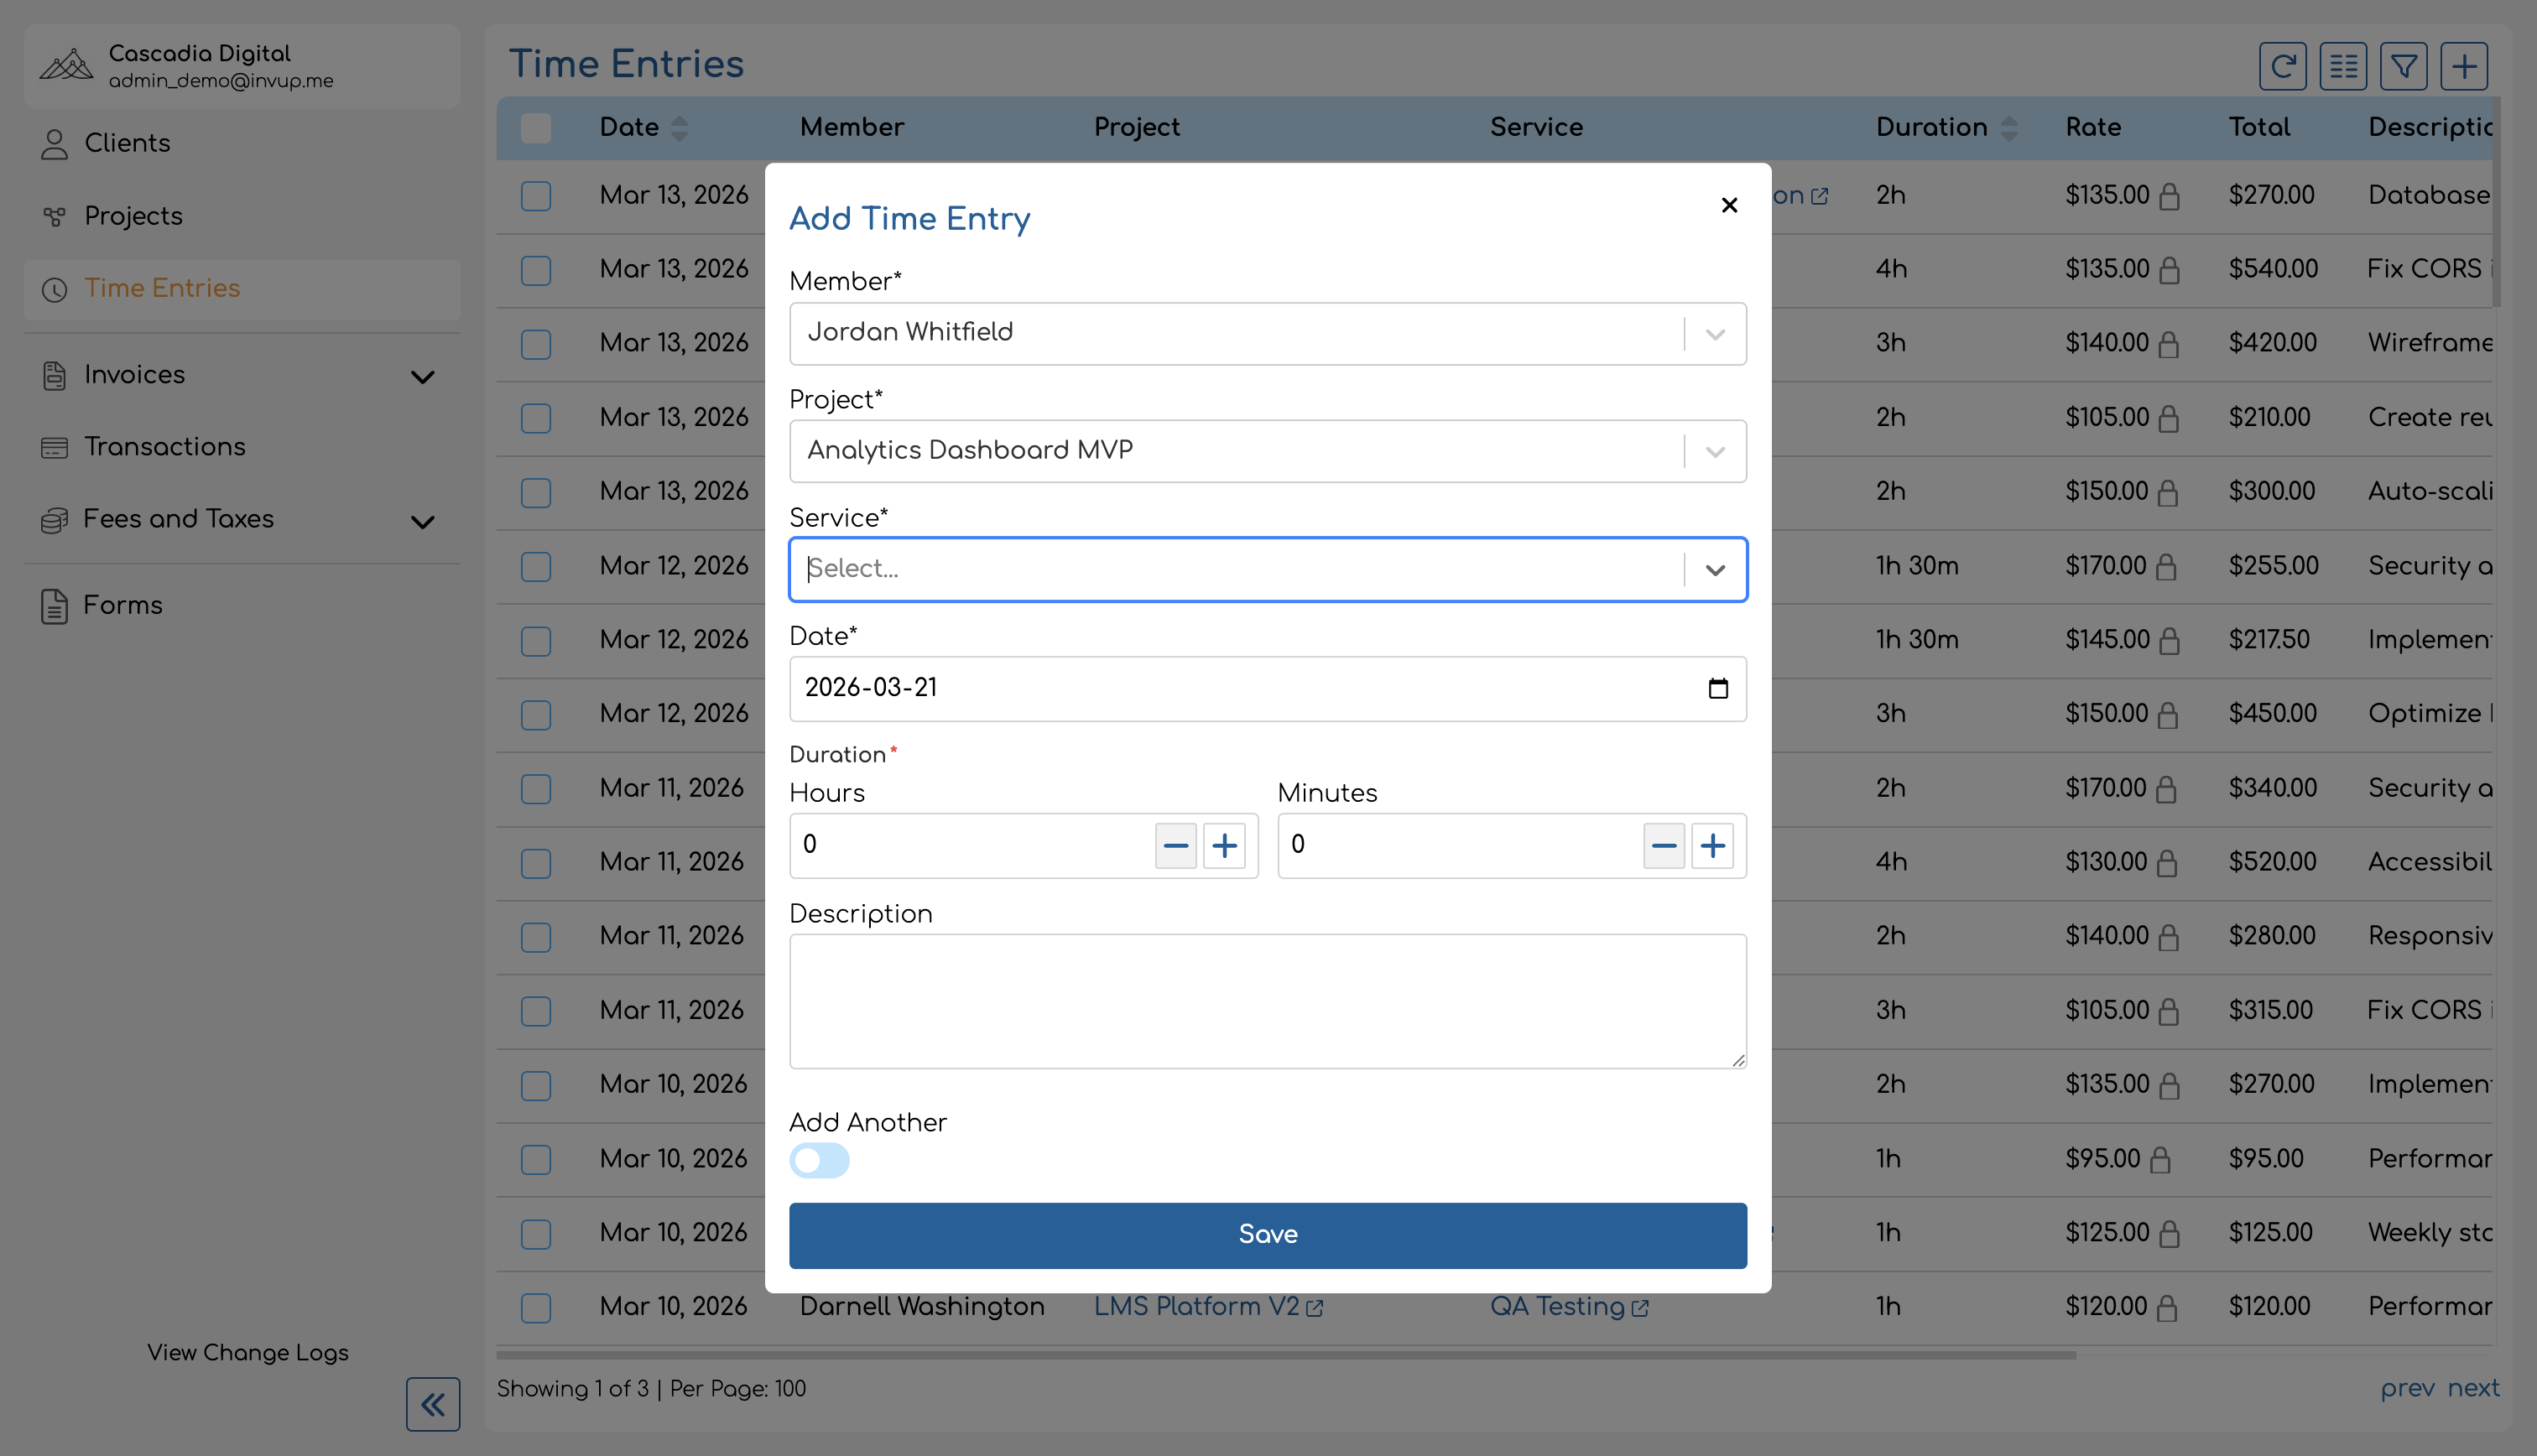
When a team member is selected, the service dropdown is filtered to show only the services that team member is assigned to on the chosen project.
Regular team members and contributors do not see this field — their entries are always attributed to themselves.
Adding Multiple Entries Quickly
When logging several entries in a row, toggle the Add another switch at the bottom of the form. With this enabled, saving an entry keeps the form open and resets most fields so you can immediately create the next one.
The form preserves the project selection (on service-based projects) and the selected team member (for admins), so you only need to fill in the fields that change between entries.
How Rates Are Assigned
You don't need to enter a rate manually. Invup automatically resolves the applicable hourly rate for each time entry by walking a prioritized rate chain. The rate depends on the combination of project, service, and team member.
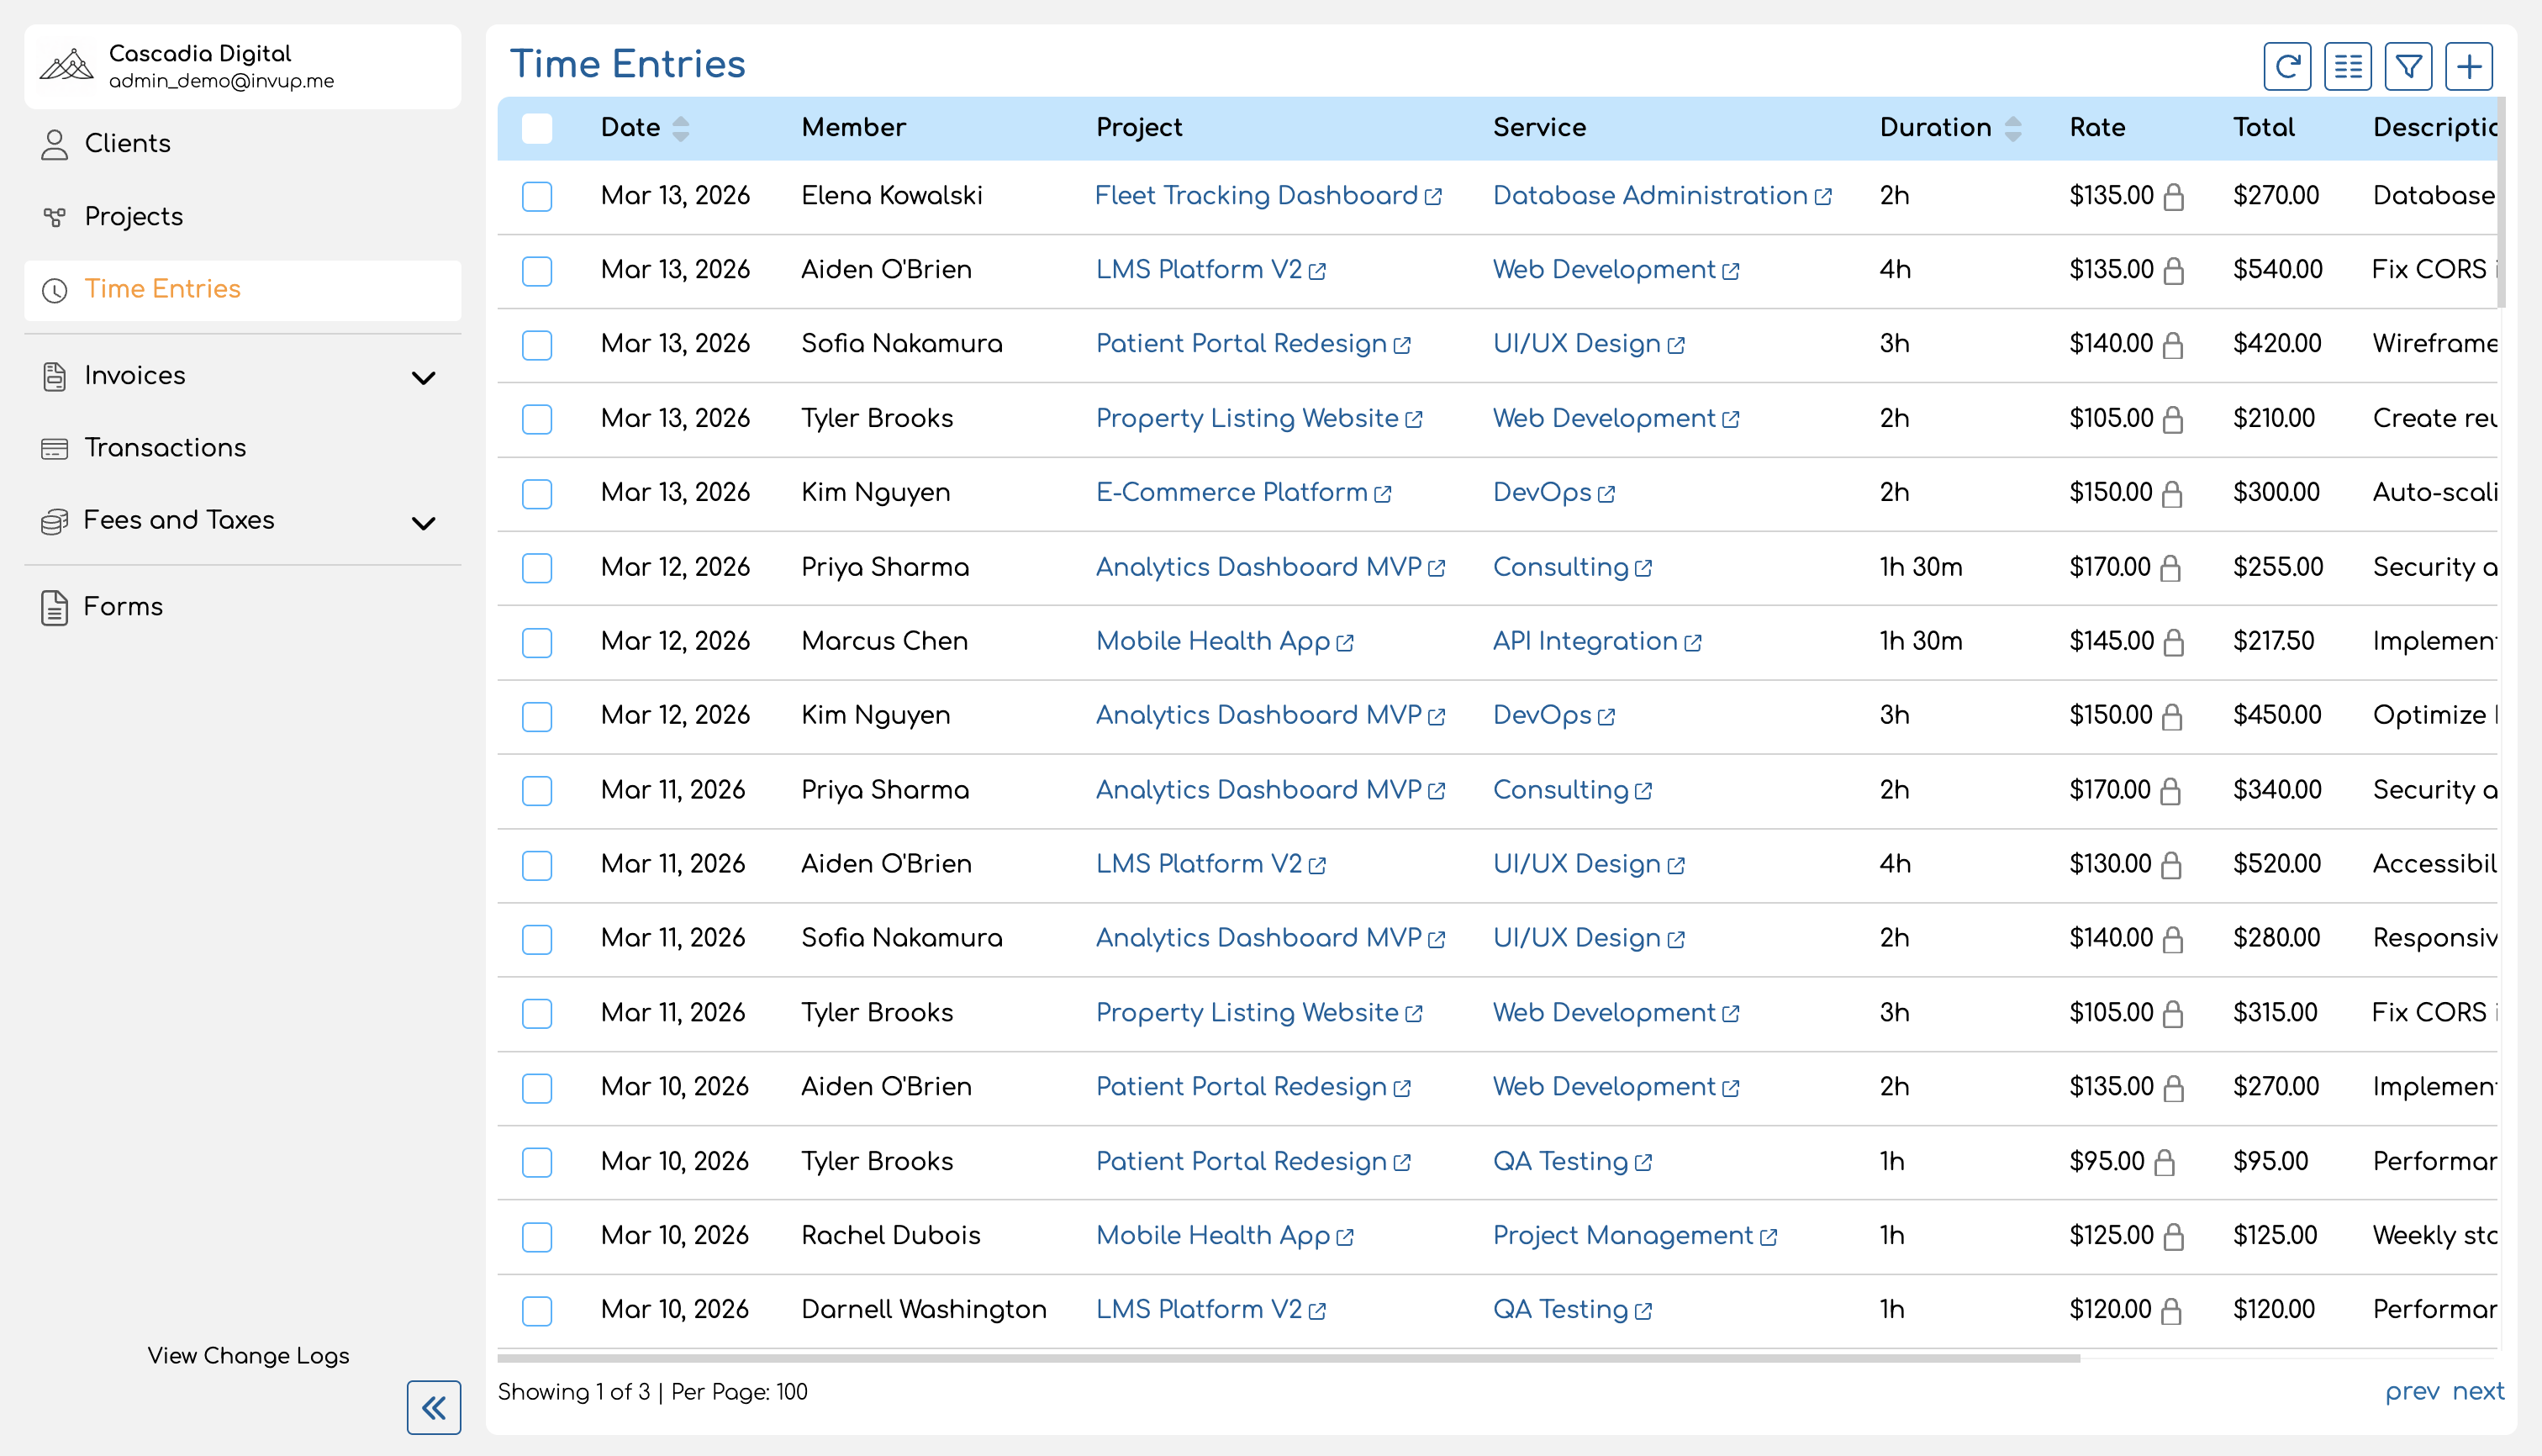
After an entry is saved, you can see the resolved rate in the time entries list. If your organization uses the "At Creation" rate lock policy, the rate is frozen immediately and won't change even if you update rates later. See Rate Locking for details.
Uniqueness Constraint
Each time entry must be unique across the combination of team member + project + date + service. If you try to create a second entry for the same team member, project, date, and service, you'll receive an error. Edit the existing entry's duration instead to add more time.
For projects without services, the constraint is team member + project + date — one entry per team member per project per day.
Admin View vs Team Member View
The time entries page works differently depending on your role:
| Team Member / Contributor | Admin / Owner | |
|---|---|---|
| What you see | Your own entries only | All entries across the organization |
| Creating entries | For yourself only | For any team member |
| Member column | Not shown | Shown — displays who logged each entry |
| Member filter | Not available | Available — filter by team member |
Tips for Accurate Time Tracking
- Select the right project. If your organization bills multiple clients, make sure each entry goes to the correct project. Logging time to the wrong project can lead to billing errors.
- Use services for categorization. On service-based projects, selecting the correct service ensures the right rate is applied and gives you better reporting breakdowns — for example, an architecture firm can see how much "Schematic Design" time vs "Construction Administration" time was spent on a project.
- Log time daily. It's easier to remember what you worked on and for how long if you log entries at the end of each day rather than reconstructing your week on Friday.
- Use the "Add another" toggle. When catching up on multiple entries, this saves time by keeping the form open between entries.
- Add descriptions. Brief notes make it easier to review entries later and provide context when generating invoices — especially for clients who want itemized billing.